Two small relatives who have yet to speak in sentences and don’t understand the words “leave the cat alone” have recently arrived in my life, leaving sticky fingerprints on my glass table, littering the floor with biscuit crumbs and sticking segments of mandarin down the back of the sofa.
I love them to bits, but I suspect their disruption of my formerly well-ordered house on their weekly visits is what has caused my sudden interest in knot gardens.
Of course it could also be that the Partner has recently become obsessed with hedges and allowing him a small knot garden may distract him from planting long lines of griselinia (which I don’t like) along the side boundary.
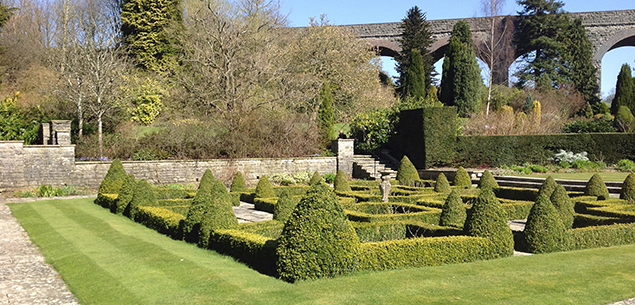
A formal garden that obeys the principle of no open ends. The spaces inside the hedges are paved with decorative schist.
Knot gardens date back to at least Tudor times, when the Elizabethans found inspiration from Italy, where architects had begun building houses and gardens that followed a strict geometric pattern. The shapes and sizes that featured in the design of the house were echoed in the garden.
Like me, the Tudors liked the idea of geometry and proportion, but there was more to their knot gardens than that. Certainly they were designed primarily for looks, but they often contained mystical symbolism and sometimes even puzzles.
Designing and creating a formal knot garden is not a job for the faint-hearted, but once planted and established, it could be one of the most interesting features of your property.
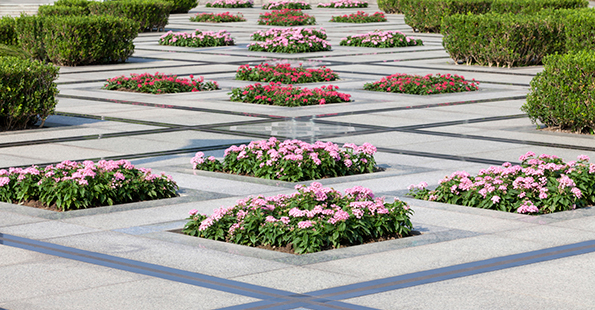
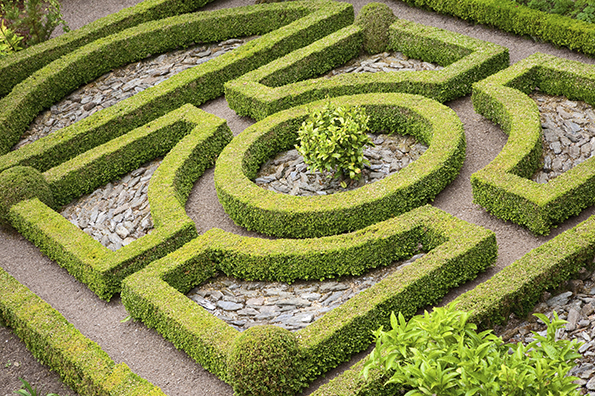
A different take on the knot garden, with hedges used to edge a geometric paved area inset with flowers.
The idea is to form an intricate design using a continuous hedge of evergreen plants (please not griselinia) that will respond to clipping and remain tight and compact. Then you can either plant the areas between the hedges with other colourful plants, or pave or gravel them in a pattern.
The only not-so-simple part is that knot gardens are best appreciated from above, so if you live in a low, contemporary house, you may need to dig a depression in which to plant your knot garden. That or build another storey on the house. Failing that, plant it as far away from the house as possible so you can view it at a distance.
The best shape for a knot garden is square or round. Long, narrow beds tend to lose impact. Get some graph paper and draw up your design. You’ll find endless photos of knot gardens on the internet, as well as plans and drawings. A good design weaves a pattern in a continuous line but has no ends.
The traditional hedging plant for knot gardens is box (Buxus sempervirens), because it’s compact and doesn’t mind frequent haircuts. But there are other plants that’ll do the same job, provided they have small leaves, are evergreen and won’t grow 10m when your back is turned.
Viburnum tinus “Eve Price” creates a gorgeous dwarf hedge with pink-tinged dark green foliage.
Don’t despair if you have a solely native garden – many of our hebes make great little hedge plants with really pretty flowers.
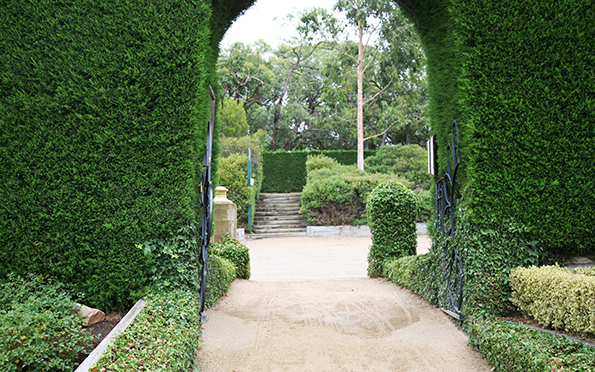
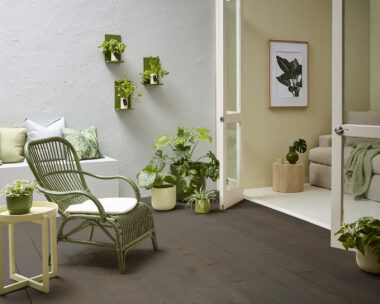
A formal garden is an oasis of calm to escape to if you have little ones rampaging through the house.
The compartments created by the hedges are traditionally planted with colourful annual bedding plants, but there are no hard and fast rules. Alternatively, use different grades and colours of stone chip in each pocket.
Once you’ve selected a design and chosen your hedge plants, mark out your plan either with a flexible garden hose or spray paint. I prefer the garden hose because you can make sure that your garden has continuous lines without ends.
Be prepared – you will need a lot of plants, and of course you can’t make a knot garden in stages because you want everything to be a uniform size right from the get-go. The plants should be set close together, with most species no more than 25cm apart – four plants per linear metre.
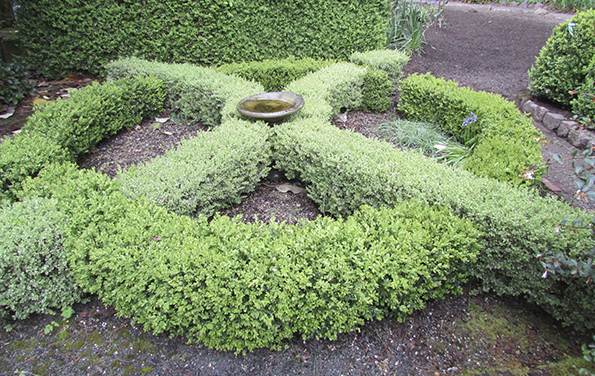
Even the less regimented among us can have a knot garden. This one has a certain casual charm.
Once you’re far enough down the track to start clipping, try this trick: where two rows meet, clip one line to slope five centimetres lower than the other at the intersection. This makes it looks as if one hedge is passing under the other.
If you haven’t the time, space or energy for a full-on knot garden, a follow-on from the current hedge trend is the step-over hedge. These are usually less than five metres and kept in check by trimming. They make a stylish statement when planted against walls or fencing.
I’m also visualising a miniature maze – just tall enough to keep a couple of toddlers busy while I soothe the cat and clean the glass table.