I used to meditate when it was the trendy thing to do a few decades ago. These days, when I need to empty my brain, I mow the lawn. It doesn’t work any better than meditation, but at the end of it I’ve achieved two things instead of just one and enjoyed myself in the process.
At the same time meditation was trendy, so too was making mosaics – I did a bit of that as well. But once my crafty phase passed and I became devoted to style, I decided mosaics were naff. At that point, I’d never seen Park Güell.
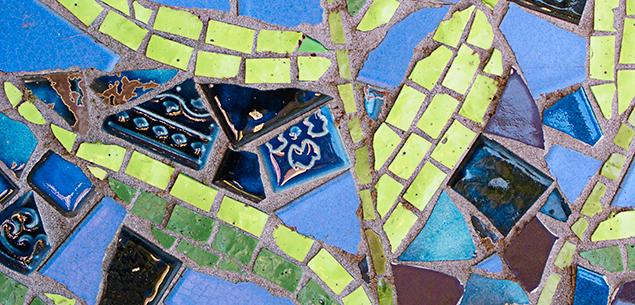
Anyway, to get to the point, mosaics are not naff and if you want a relaxing, mind-focusing activity to entertain you during winter, this could be it.

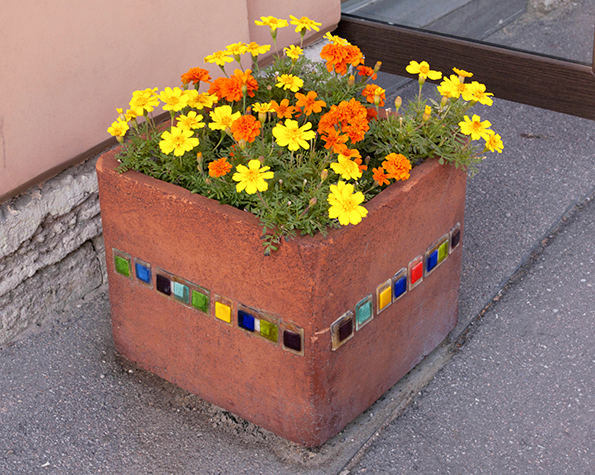
This simple line of tiles glued on to a square pot lifts it out of the ordinary.
I was inspired to create a mosaic cabbage tree on the back wall of our shower after seeing the work of various artists, including Con Kiernan, Judi Brennan and Dhaj Sumner. And while my efforts certainly never came close to theirs, the tree drew praise from any friends intimate enough to be acquainted with our bathroom.
It proves you can start off with minimal skill and minor technical knowledge. Alternatively, there’s heaps of information in books, magazines and on the web, and if you want to go a step further, you’re bound to find a local class, unless you live somewhere remote such as Riversdale. Even then, there’s probably someone there who knows how to do it.
If you want to get started, grab a square terracotta pot and go for it. It’s easier to mosaic on a flat surface rather than a rounded one to start with. You can buy mosaic tiles all over the place, or have a smash-fest with old tiles and plates at home.
Find a combination of colours and a design you like, and if it doesn’t turn out as well as you’d like, sit it in the garden and hide the dodgy bits behind a palm.

Mosaic tiles are readily available, or have a smash-fest with old tiles and plates at home.
Top tips for making your own mosaic art
Try following this advice I was given by the Clay Art Studio a few years ago. Since the mosaic art has been with us for centuries now, it’s probably still good.
Make sure your base is weatherproof and stable. Concrete is the ultimate base for outdoor mosaic projects, but for outdoor pictures, fibre cement board is great. Paint the back when you have finished. Wood is pretty much useless – even marine ply. Wood expands and contracts so much with the heat and humidity changes that the grout can crack and water will gets in.
Use waterproof glue. On concrete, cement- based adhesives work really well, but whatever glue you use, check on the label that it’s good for exterior use. Also, use plenty of it. Make sure that there is a layer of glue between the mosaic piece and the base – don’t press down so hard that all the glue squeezes out the sides. Each piece should sit in a nice bed of glue.
Use weatherproof tiles. Many cheaper tiles will absorb water and although this is okay on a vertical surface, if used flat on a paver or path, this water can freeze in the winter and damage the glaze. Outdoor tiles, glass, vitreous glass and high temperature ceramics are a better option.
Grout well. Ensure the grout is packed into the gaps between the pieces and worked in well so there are no air gaps. Use a squeegee or spatula to fill the whole space, down to the baseboard.
Seal the grout with a commercial grout sealer. This seals up any tiny gaps and prevents water working its way into them. It also gives the grout a smoother surface, making it harder for mould and lichen to grip on.
If you find you enjoy mosaic art and want to go further, look for classes. Try these for starters:
funkyglassart.co.nz (Christchurch)
everythingmosaic.co.nz (Auckland)
quirky.co.nz (New Plymouth)
clayartstudio.co.nz (Tauranga)


