You will need
● 25 jars in different shapes and sizes
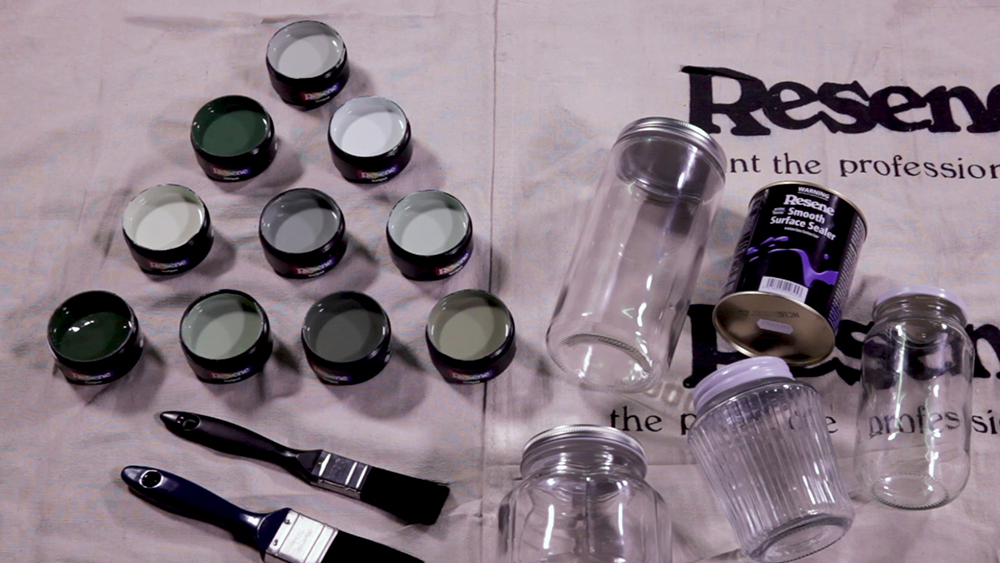
● Resene Waterborne Smooth Surface Sealer
● Testpots in your choice of colours. We used Resene Timber Green, Resene Middle Earth, Resene Yucca, Resene Pewter, Resene Gondwana, Resene Laurel, Resene Envy, Resene Surf Crest, Resene Pale Leaf, Resene Edgewater
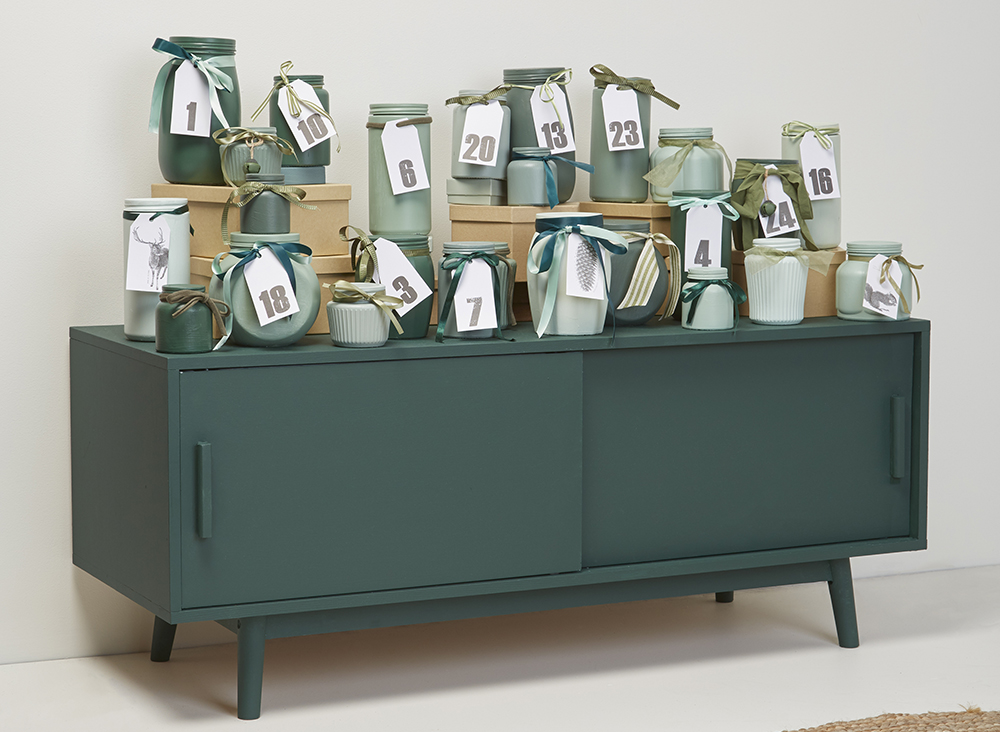
● Ribbons and tags, to decorate
Step-by-step guide
1 Give each jar and lid a coat of Resene Waterborne Smooth Surface Sealer, then allow to dry completely.
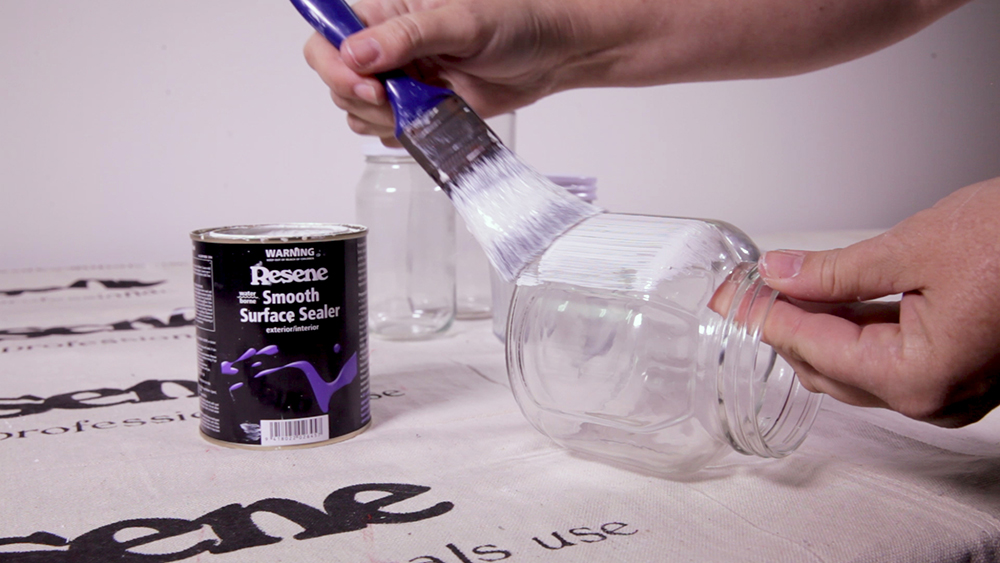
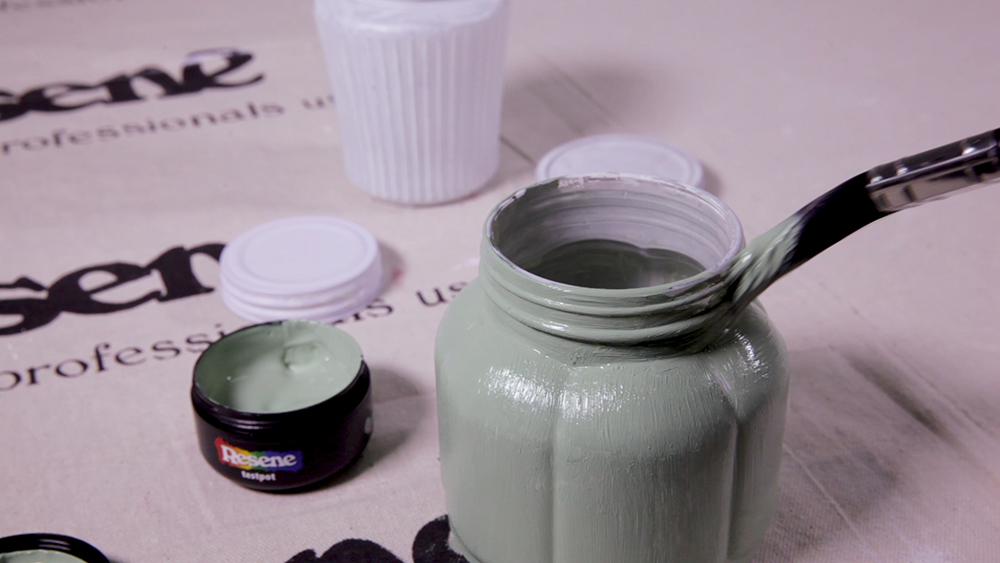
2 Paint each jar and lid using your choice of Resene testpots (see above). For best results, cover the jars in two coats, allowing adequate drying time in between.
3 Pop small gifts, sweets or decorations into the jars.
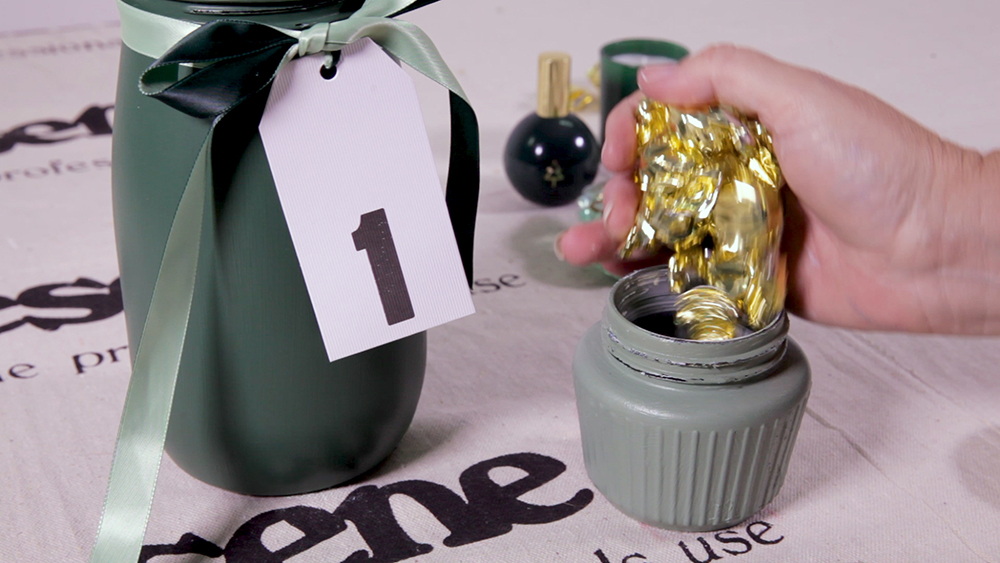
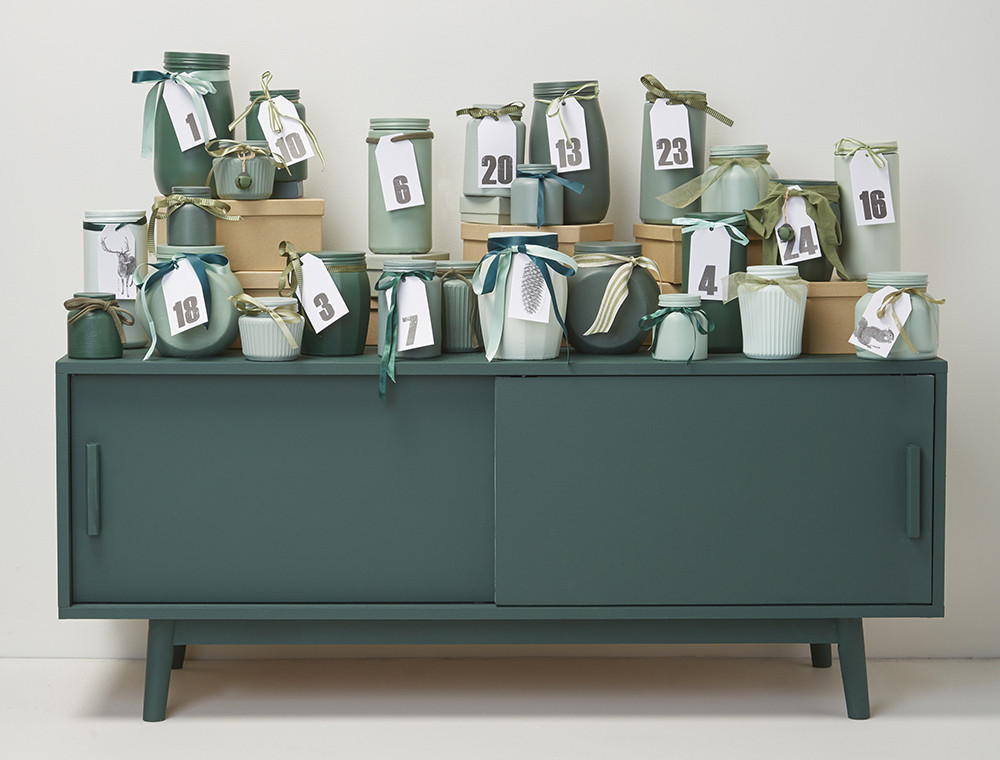
4 Tie ribbons and numbered tags (1 through to 25) around the jars. You could make your own tags by painting or handwriting numbers on to them, or create them on your computer and print them out.
Note: Just as you used a variety of Resene testpots to paint your jars, using a variety of ribbons will add further interest to your finished display.
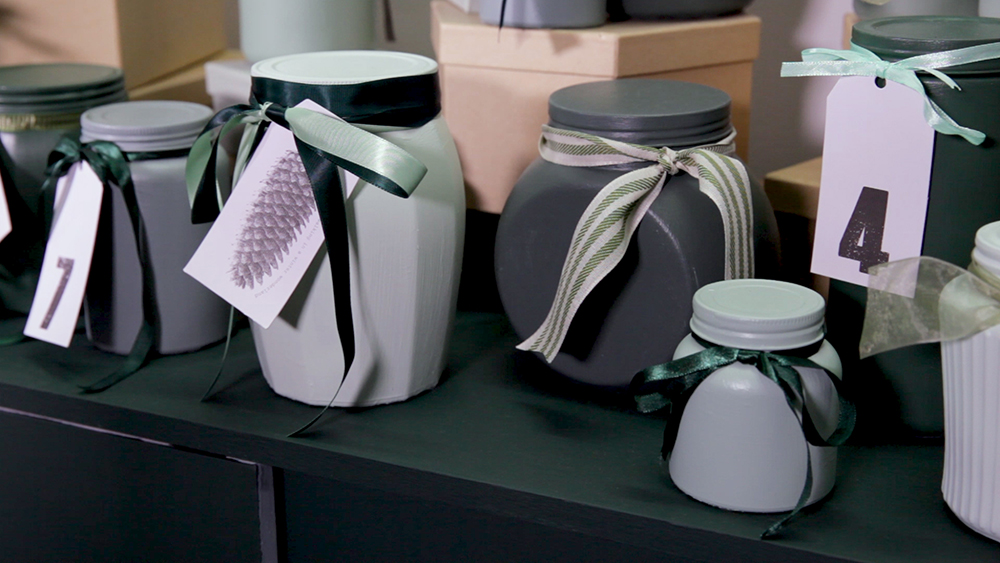
5 Display your advent jars on a flat surface, such as a sideboard, buffet or hall table. For our display, we layered plain cardboard gift boxes underneath our back jars to create more height.
TOP TIP
Paint part of your jar in Resene FX Nightlight for a glow-in-the-dark effect, or finish in Resene FX Metallic for extra shimmer and shine.
Styling: Vanessa Nouwens. Photos: Bryce Carleton, Ben Whorwood.
